Next step you should complete just after the installation is assigning a static ip address to server. To do this follow this process click on start and select control panel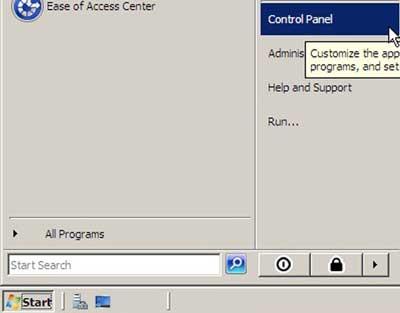
select Network and Sharing Center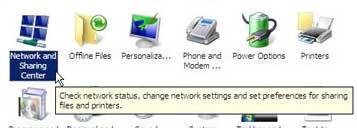
click on Manage network connections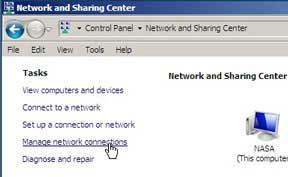
select local Area Connection and open its properties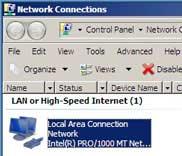
select Network and Sharing Center
click on Manage network connections
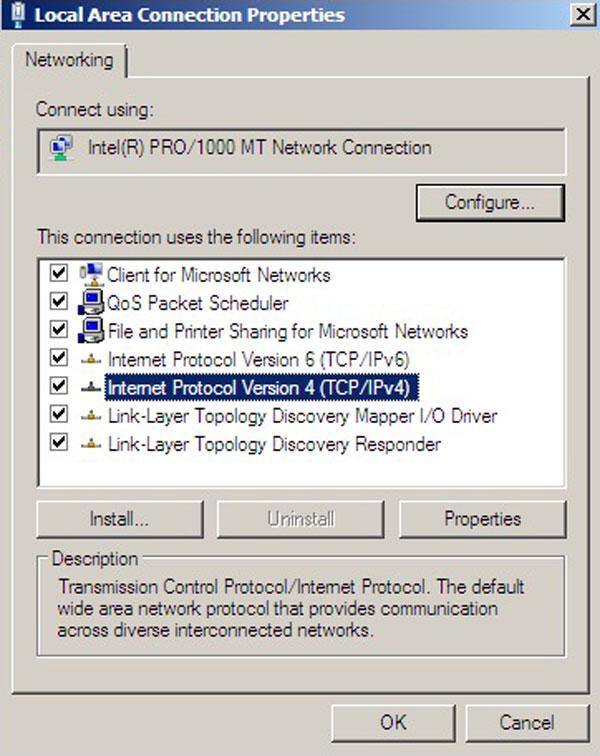
select local Area Connection and open its properties
select Internet Protocol Version 4(TCP/IPv4) and click on properties Tab
click on Use the following IP address: then type IP address, subnet mask and DNS server and click on OK button

Now click on ok and again ok to close the properties of TCP/IP


0 comments:
Post a Comment